10
Apr

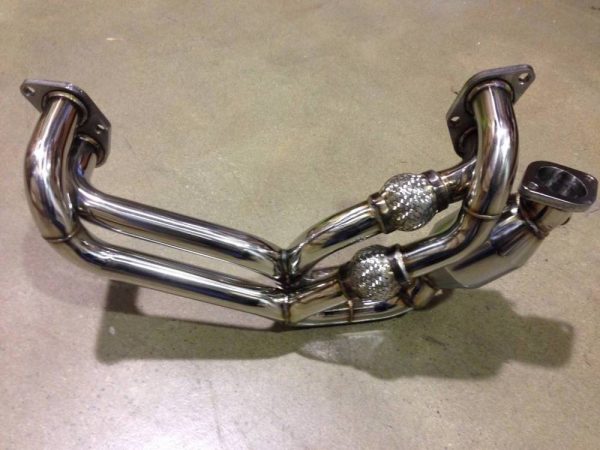
For a lot of people, it’s intimidating to even think about changing car parts on their own, which is why most of them usually opt to rely on a mechanic. Not that this is something bad, but you will definitely learn more about your vehicle by replacing parts on your own. Even if you don’t have enough experience, success is not that far away, as you will only need a good guide to install your new header and some spare time. If time is not a problem for you, get ready to get your hands dirty because, in today’s blog post, I’ll explain it to you how it’s done.
When it comes to sliding under your car, you will need to set it up with some lift jacks and wheel chocks – just make sure to first check where your vehicle’s jack points are. Also, make enough space for you to move freely under the car and set up some proper lighting so you don’t lose some bolts. Before you get to the point of installing headers extractors, don’t forget to take a screwdriver with you and have someone by your side to help you.
You will need to disconnect all the tubes and sensors that lead from the engine compartment to the exhaust system and wait for the vehicle to cool down completely before you start wrenching. When you first slide underneath the car, before you start taking the old header out, make sure you don’t have anything blocking it or if something is connected below the header.

Once you’ve checked everything, unscrew the old header form your engine’s block, and write down which bolt goes where. If you are going to be reusing the old bolts, make sure they aren’t stripped and that the thread is still good. If there’s some corrosion on them, spay some WD 40 or some other fluid that is able to get through the corrosion. After you get the bolts out, lower the header down through the engine compartment.
Once you get the old header out, you will need to take off the gasket that sits around the exhaust port flange. Afterward, clean the surface of the flange thoroughly using some alcohol or brake fluid. Make sure there aren’t any deposits left on the surface of the gasket. Once that is done, install the new gasket in.
While highly unlikely, you may be able to put in the new header from above, but that’s not the case with most headers extractors, so you will need to put it from below. When you position the new header properly, thread all the bolts through (this will be a round of trial and error) and then fasten the bolts loosely. This is to give you more room so you can align the header more accurately. After you’ve aligned it properly, screw the bolts all the way in. While doing this, make sure you start with the bolts in the centre and move your way outwards in a spiral pattern.
When you are done torquing, connect all the tubes and sensors that you disconnected earlier, then get back under the car and connect (bolt in) the exhaust system to your new header. Check that you have screwed in every bolt according to the specs in the manual that comes together with the header. Once you’ve installed your new header you will need to check every now and then if it needs to be tightened additionally.