24
Feb
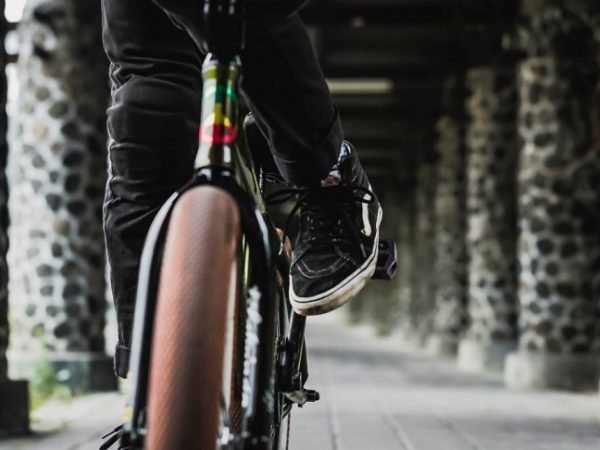
Riding a bike has many health benefits and while it can be a great way to commute to work, riding a regular bicycle isn’t as fun as riding a BMX. BMX bikes have become all the rage lately, and for all the right reasons. They improve your cardiovascular health, as they require a bit more effort to ride and they also help you build muscle. Riding any type of bike can also help with weight loss and it can improve your balance, coordination, and posture along with brain activity, but BMX bikes are much more robust, allowing you to ride them in skate parks, where you can perform tricks and push yourself to the limit.
Riding a BMX is an overall great physical activity that keeps your whole body healthy including your mental health. When you ride a BMX you stimulate creative thinking, your productivity and confidence are through the roof and you feel good after a ride. This, in turn, can improve your sleep, as any physical activity releases dopamine which helps reduce stress levels and makes you feel better at the end of the day. BMX bikes and parts come in a wide range of shapes and forms, and every part is essential to the performance and capabilities of your BMX. One such part is the bike pedal, which in my opinion is the second most important part after the chain on your BMX.
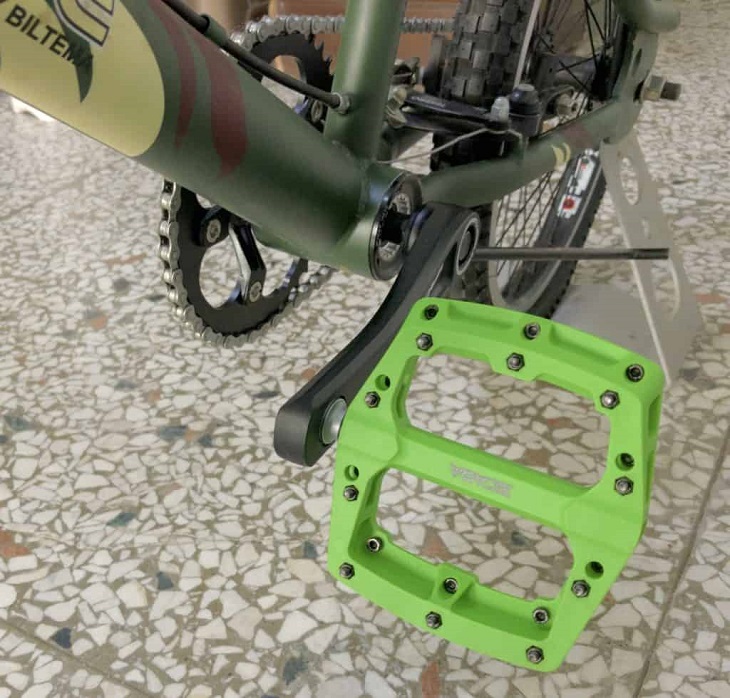
Thermoplastics are the most affordable materials BMX bike pedals can be made of. You get great grip pins with thermoplastic pedals and a broad platform that reduces the chances of your shoe slipping away from the pedal. Polycarbonate is one of the most popular thermoplastics, as they make for rugged BMX pedals that are very durable.
If you want a bump up in strength and durability you should go for die-cast BMX pedals. These come with easily replaceable pins and make for a lightweight option that is incredibly strong. Die-cast pedals can take quite a beating. Sporting a more rugged and futuristic look, newcomers often buy BMX pedals that are made of die-cast despite the higher price tag.
Synonymous for being light and robust, CNC-machined pedals are the most expensive out of all BMX pedal types. They can be custom made, feature unique patterns while being easy to remove and put back in place at the same time. CNC pedals are chunky and have a low-profile look making them both aesthetically pleasing and durable.
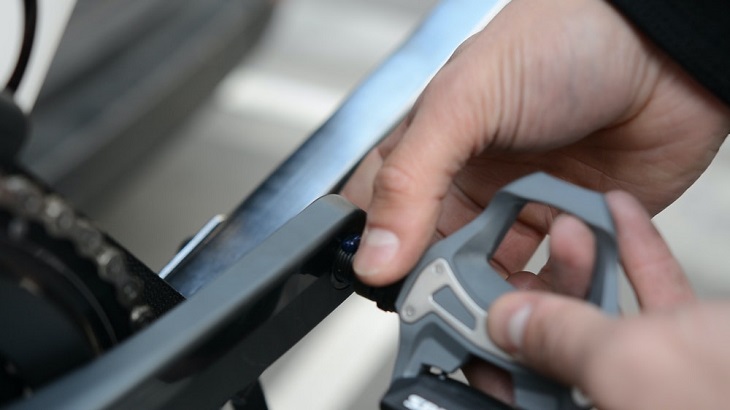
Taking away the old pedals on your BMX and installing new ones isn’t that hard and everyone can do it as long as they have the necessary tools. Make sure before you start removing parts, that you have an Allen key, pedal wrench, and a water-dispersant such as WD-40.