03
Aug
Yellow spots, curling leaves and a droopy appearance are all symptoms that lead to the root of many plants’ woes: over- or underwatering. If you notice your houseplants having these symptoms, then you might deal with figuring out the right amount of water supply, which is the most common problem gardeners have.
It can be tricky to know exactly how much water every plant needs at any given time. Ready to toss your weekly watering schedule (that turns out to be unsuccessful) out of the window? Self watering planters might just be the answer to all of your gardening struggles.
These containers provide a consistent level of moisture directly to the roots of the plants, leading to increased plant health and yield. A well-designed self watering pot allows the plants to get the exact amount of liquid they need to thrive. That’s why these containers are the best way to grow any plant, especially vegetables.
And also, the most convenient; whether you live a busy life, travel often or are a novice gardener, these planters can help you commit to watering your plants consistently and grow various plants easily and successfully. Just like that, you can go away for a week or two and relax knowing that your plants are looking after themselves.
They’re convenient for another major reason: space. Finding the perfect location in terms of light and temperature where you can easily water it too can be daunting. With the help of these modern plastic self watering containers, you can grow your garden on your tabletop, windowsill, balcony or backyard. Lightweight yet crackproof, they’re the perfect solution for any garden.
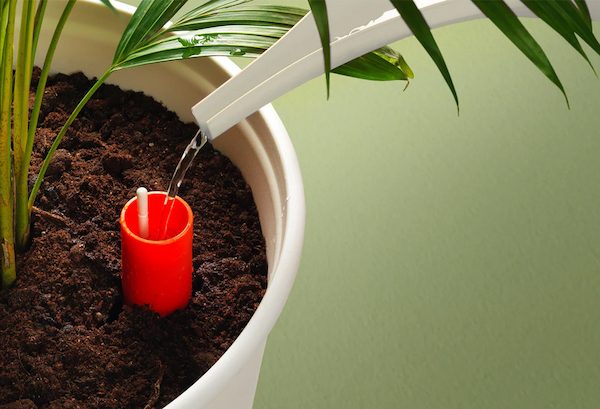
Although plants absorb water from the bottom up, most people water them from the top. When you put too much water, the water sits at the bottom of the pot and oversaturates the root, making capillary action impossible. That’s the main reason and leading cause of root rot and plant death. On the other side, when a plant doesn’t get enough water, the water stays on the top of the soil, letting the roots below dry.
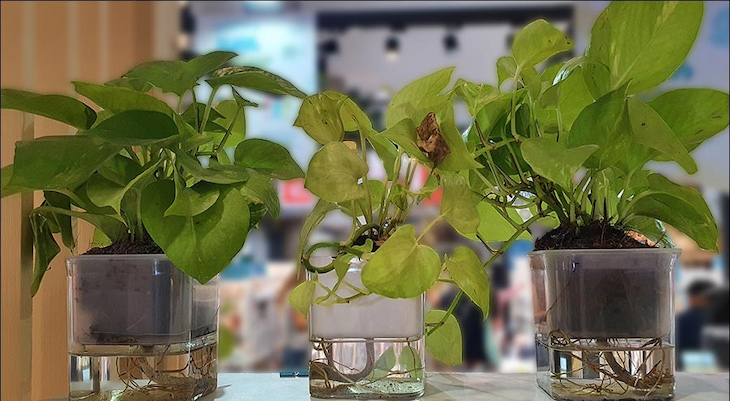
Self watering pots have water reservoirs that sit at the bottom of the pot so the plant can draw moisture as needed through a process called capillary action. This essential process happens when the plant’s root system attracts water from the reservoir and transports it upward due to the water adhesion, cohesion and surface tension. Once it reaches the plant’s leaves, it can use for other essential processes, such as photosynthesis.

Setting up a plant in a self watering planter is quick and easily done. You’ll likely spill dirt along the way, so make sure you do it in an area that’s easy to clean. Follow these simple steps to pot your plant right:

Apart from the type of plant that you grow, you’ll have to take into account a few other factors when it comes to watering your plants. Sometimes, it’s an easy process that you can do without much thought. Other times, it requires more care. Here are some things to keep in mind when watering your plants:
To help your plant’s roots grow in the sub-irrigation part of the pot, top water your plants for the first couple of weeks. Different plants need different times to do this, but two weeks should be fine for any plant. Then, test to see if the self-watering function work by filling the tray about ½ full with water. If you notice the water level starts to lower on its own, congratulations, your plant drinks directly from the reservoir. You did it!
Between watering, you need to let the roots dry for a few days as most plants need a dry-out period. Although some plants can handle excess moisture, constant humidity will lead to root deterioration for the majority of them.
If you use a liquid low-grade organic fertiliser, fertilising your plant in plastic self watering containers is easy. Make sure to follow the directions on the package and pour it directly into the reservoir. As plants drink, they’ll absorb the nutrient-rich water. Fertilising is recommended every four to six weeks during their growing season, in the spring and summer months.