A Simple Guide to Replacing, Adjusting & Cleaning Aftermarket Headlights
09
Jun
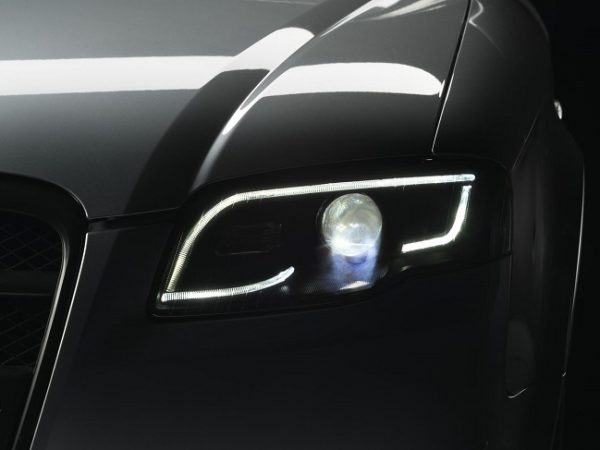
If you need new automotive parts you can choose to go to an official car dealership or a company that makes aftermarket parts. Dealerships have what are known as OEM (Original Equipment Manufacturer) parts which are made by the manufacturer of your vehicle. Aftermarket parts are sold by a different company but the they are made with the same specifications as OEM parts. Aftermarket parts are brand new and often come at a more affordable price than OEM parts. The advantage of aftermarket parts is that there is a lot more to choose from and if you know what to look for, you can even find parts that exceed the quality of an OEM component. The same goes for headlights which like other aftermarket parts need to be put to use and configured on your own.
How to Change a Headlight
Access
Getting to your existing car headlights can vary from vehicle to vehicle but usually you’ll need to remove the bumper covers. This is a common first step when installing aftermarket headlights on most of today’s vehicles which requires the plastic front bumpers to slide out a bit or get removed altogether. This is a fairly easy task though since all you need to do is remove some bolts. These bolts are found near the edge of the wheel well opening and under the vehicle where the bumper covers meet the splash shields. Some car manufacturers use rivets instead of bolts for which you’ll need to use a rivet gun.
Removing the Old Assembly
For this part of the replacement you’ll need a socket wrench and a screwdriver or two. Depending on the type of vehicle you have, you may need to remove the front grille to get access to the clips and bolts holding the headlight assembly. You can remove the front grille by removing the screws from the top or sides of the grille or by releasing the hold-down clips.
When you’ve removed everything that stands in the way of the assembly, continue by unbolting the assembly attachment points. There are usually hold-down bolts or clips in the metal body panels near the assembly. When you’ve removed all the bolts/ clips, slide out the assembly by giving it a little wiggle but beware of wiring harnesses.
To disconnect the electrical wires just unhook them from the connectors in the assembly by squeezing on the edges of the connector or just pulling up on a tab. If there is a thin wire, you’ll need to slide it into its unlocked position before removing the connector. This will allow you to remove the whole assembly without causing any issues.
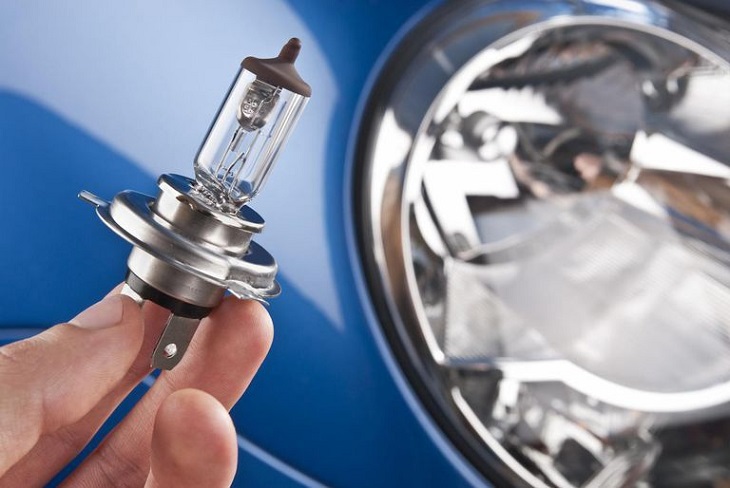
Installing the New Assembly
Installing the new aftermarket headlights needs to be done in a reverse fashion from what you did to remove the existing assemblies. But when it comes to LED headlights there are some additional wires you need to connect. These are the parking light wires which can be either two or three. To find the correct parking wires turn on the parking light and signal on and pinch the negative needle of a volt meter to a ground/ negative wire. Then pinch the positive wire to the coloured wires of the turn signal.
If the volt meter shows that there is constantly a high voltage going through, it means that the wire is used for a parking light. But if the voltage isn’t constant it means that the wire is used for a turn signal. When you locate the running wires, connect the positive one to the parking lights and the negative to the negative wires on the parking lights with the quick connections.
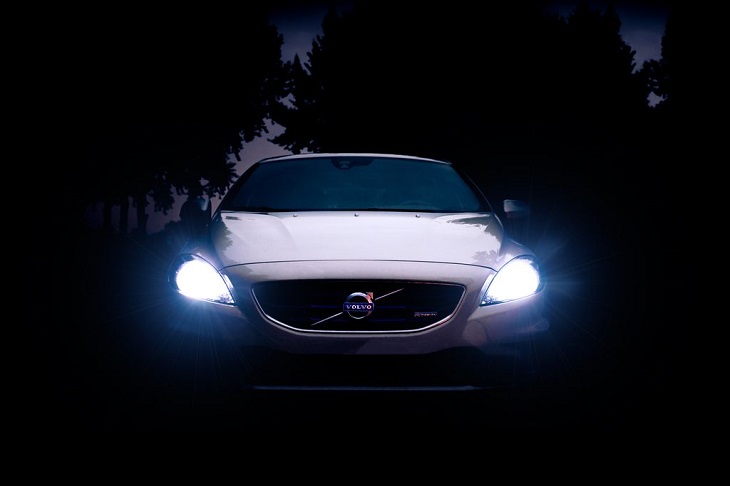
How to Adjust Headlights
Once the headlight assemblies have been installed, it’s time to adjust them properly. This is done at either dusk or night, on a flat surface and a blank wall or garage door. Get yourself some masking tape and tape measure and park your car about 2 meters away from the wall and turn on the headlights.
Use the tape to mark the horizontal centre line of the low beams and then mark the vertical centre line of the headlight beams. Once done, mark the centre of the vehicle on the wall too which will be used for future reference. Bring your car back about 7.5 m (this varies with different vehicles – check the owner’s manual). Then position the headlights so that they are about 5 cm below and to the right of the centre of the tape markings. The high-beam needs to be below and a little bit on the inside of the centre line of both beams.
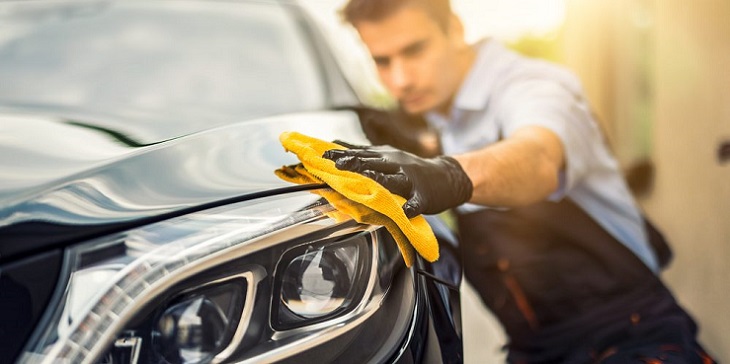
How to Clean Headlights
Maintaining headlights includes cleaning them with a toothbrush, some toothpaste and a spray bottle unless you are going to use a restoration kit. You’ll need to rub the toothpaste into the headlight cover using the toothbrush until you see the headlight getting clearer. Then just spray warm water onto the headlight and wipe the leftover toothpaste with a clean cloth. You can use a rotary buffer if you want to clean the headlights more thoroughly.