01
Jun
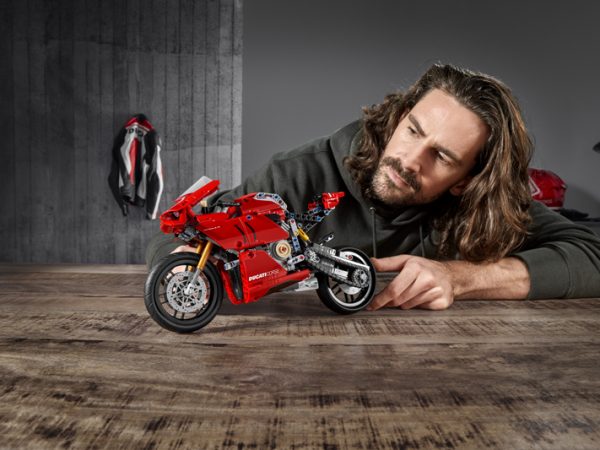
Having a hobby can keep you focused and help elevate all that stress from work. Spending time doing something you actually enjoy can be very beneficial, especially in these trying times. One of the oldest, most popular hobbies in the world is model building. You’ve probably seen it in dozens of movies, including Law Abiding Citizen, and I think it’s safe to say that it’s one of the most calming hobbies out there. Combining different parts and making them look good in the process will allow you to learn many skills, and you can do them together with loved ones.
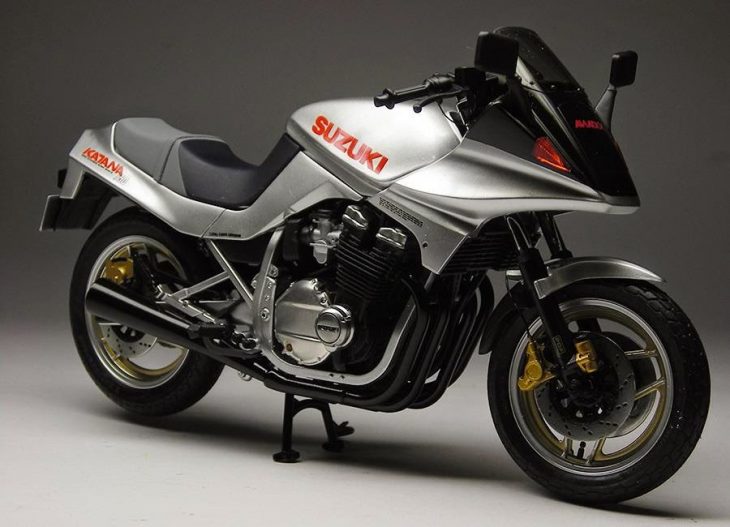
Also, the feeling you get when you finish a project that you’ve been working on for weeks or even months is so rewarding. Nothing can replace the uniqueness of this feeling. From trucks, planes, and buggies to tanks, warships, and motorcycles, plastic models come available in all kinds of shapes and sizes. But what size motorbike model kit is right for you?
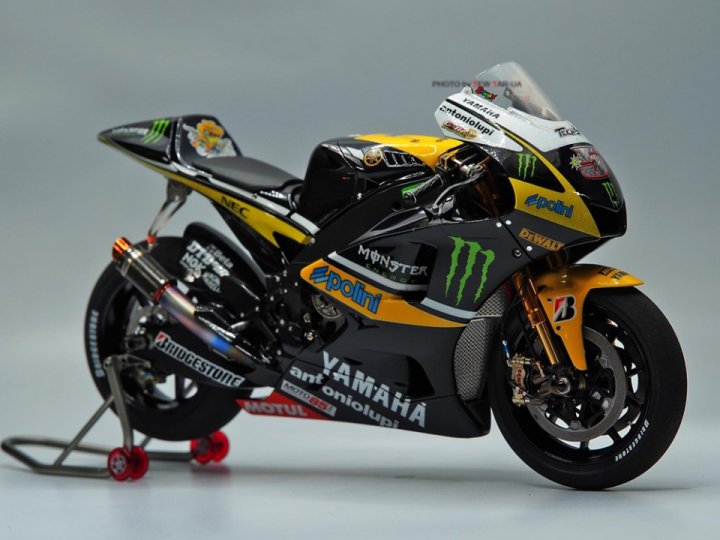
In order to know what size motorbike model kit will satisfy your model building needs and skills, you need to get familiar with the scale. The scale is the size of motorcycle model kits in relation to their real-life counterparts. For example, a 1:10 scale model is 1/10th the size of the real vehicle, in this case, a motorcycle.
While building a scale model with motorcycle model kits, make sure you have all the supplies needed, including the tools. These will be an x-acto knife and scissors, a small file, and masking tape. The first thing you need to start with when building motorbike plastic model kits is marking the plastic.
Marking the plastic is done using a soft pencil to avoid making scratches. Cover the part you need to mark with a piece of paper and use the pencil or scribe to mark it on the surface. Then, masking tape needs to be put alongside the marked lines. When cutting cylinders, make sure to get a square cut by wrapping a straight-edged piece of paper around the cylinder. When you’ve done that, mark the lines and stick some masking tape.
One of the most fun parts of building plastic motorcycle models is cutting. Get your x-acto knife if you’re going to be cutting thick pieces of sheet plastic like polystyrene. Otherwise, use scissors to cut the pieces. Start by scoring a straight line going along the marked lines on the plastic at the edge of a table or bench. Then, just snap the two pieces apart from each other. The parts should be clean along the scored line once separated. Make sure to check the fit of each piece as you go.
Once you’re done cutting all the pieces needed to assemble your motorbike model kit, it’s time to start filling them in. Plastic can be quite a rigid material, especially thicker pieces. Because of this, expect to see some gaps on the plastic pieces which occur when you separate them. You can fill fine gaps by brushing in matte enamel paint and then rubbing the hardened patch of paint with wet-and-dry paper. For bigger gaps, make sure to use an epoxy paste made for filling plastic. You only need a little bit of this paste. Make sure to work in the paste as close as possible to your desired shape since the filler shrinks a bit.
Once you’ve filled up all the imperfections it’s time to make the plastic parts look good. Get yourself a fine needle file and smoothen the sharp edges of every plastic part, even the places where you used filler. If you need to smoothen larger thick sheet pieces make sure to use a disc sander mounted on a bench.
When you’re done making all the plastic parts shiny you then need to continue by actually modelling the plastic. Bending plastic is necessary when building plastic models and it is done with the help of water and heat. You can also use liquid cement to soften the plastic and bend the plastic gently. When using water and heat you need to tape your component to a former and submerge it into hot water. Leave the part in the water so it softens up before removing it and cooling it with cold water while attached to the former.
The final part of building plastic motorcycle models is polishing the assembled model. While a weathered look isn’t bad either, polishing a plastic model makes it look like new. To polish a plastic model made of acro butyl styrene, polystyrene or acrylic sheets, you need to use liquid metal polish. Get yourself some cotton balls too. Put some polish on the cotton ball and apply it to the surface of the parts. Once done, let it dry, and then polish the parts with a clean cotton ball. For larger pieces of plastic, you’ll need to use a buffing wheel that has been treated with a polishing compound. While holding the piece of plastic, push it firmly against the lower part of the spinning wheel. While the wheel is spinning, keep the plastic moving. If you don’t do that the quick action of the wheel can round off the edges of the plastic piece.